Wednesday, December 30, 2009
My sister was visiting this week for Christmas and was staying at my parents condo in BirchBay. I think I've got her addicted! She would try to go for a walk, and always find herself searching the beach for beachglass! She sure found a lot for me!
Also, my sister-in-law and her family stayed on Orcas Island this week. I told my 6 year old niece Lauren, if she found beach glass for me I would make her something special. So they came home from their trip with a bag of glass too!! This is what everyone found for me!
I went through and cleaned them up and picked my favorites and this is what I got! I find that baby oil is the best way to shine them up.
I asked Lauren which one was her favorite piece and she said the lavender one. It's not too tumbled, but I will make her something special with it!
So, when your at the beach keep a look out for that special piece, and I'd love to make you something!
Monday, December 14, 2009
I came across this recipe for Beach Glass Candy, and thought, I have to try this! Being Christmas time I thought it would make some nice gifts. Well, after throwing 3 batches in the garbage, I finally got it right the 4th time!
Ingredients
- 2 cups granulated sugar
- 3/4 cup water
- 3/4 cup corn syrup
- 1/4-1 tsp. flavoring oil (I used peppermint and raspberry extract, it takes more for extracts than oils)
- Powdered Sugar
- Food Coloring
Grease a cookie sheet or cake pan with butter.
Pour sugar, corn syrup and water into a medium saucepan. Place over medium heat, stirring until sugar disolves. Without stirring, boil the mixture until a candy thermometer reads between 300 and 310 degrees.The first batch I made I burned, so I lowered the heat on the next one, only to find out that it doesn't get up to 300 that way. So, after doing some research I found out that you should slightly lower the heat as it gets toward the end, it will start to darken a little towards the end.
Drop a small amount into ice water, if it seperates into brittle strands that snap when you break them, it is ready. I found out that this was the best way to find out if its ready, if it bends at all, it's not ready and will stick to your teeth!
Remove from heat. Let boiling subside.
Add food coloring and candy flavor. Blend with a wooden spoon.
Pour into greased cookie sheet or cake pan. Let cool. It can be put into the fridge to cool faster.
Cover hardened candy with parchement paper and tap with a mallet (or I found the end of a rolling pin works well) to shatter into small pieces.
Place a small amount (it does not take much at all) of powdered sugar into a ziplock and toss small pieces to coat. This will give it a frosted look, and also keep it from sticking.
Enjoy!!
Tuesday, December 1, 2009
Yes, I've got more than just necklaces. Check out these fun wine glass tags. Pair them with a bottle of wine and you've got a great gift.
I've also got some fun bookmarks for $16, sorry no pictures at this time, a great gift for the reader in the family, or maybe your childs teacher. Got any specific requests? Just let me know.
Saturday, November 28, 2009
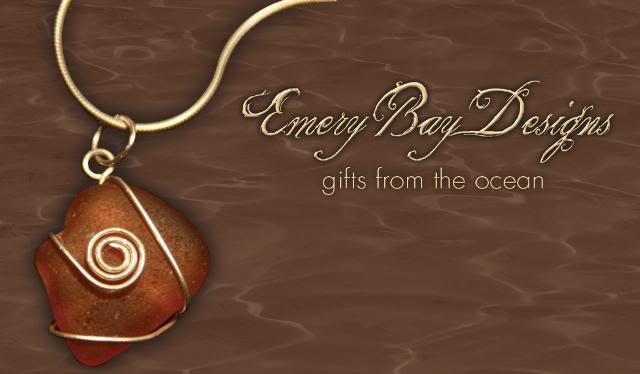
As Christmas approches, you may be looking for that special gift. All of my necklaces are sold on seashells and comes with a card explaining all about beach glass and explains how each piece I use is found on local beaches. These just might be the unique gift that you are looking for...
Monday, November 23, 2009
I decided to break away from the pendants and try something a little different, so I made some bracelets. I found out that they were a lot more work than I thought they would be, but I did like how they turned out. I have about 4 of them made at this time, here are pictures of a couple of them.
All of my jewelry is made with Sterling Silver, getting good lighting for the pictures can be hard sometimes, so the coloring may be off a little.
Friday, November 20, 2009
Wednesday, November 18, 2009
This has been quite a week. Now that I've decided it was time to start selling some of my jewelry, I decided that maybe it was time to start a blog to keep everyone updated on what I'm making. I'm new to the blog world, so please be patient with me. Not only have I started a blog, but this week was also my first attempt at a craft fair. Not sure if I was able to pull it off on my own, I asked some friends to join me. It was a learning experience for all of us, and we had a great time. Here's a photo of us all ready for the fair to start.
Here's one of my favorite necklaces. I will continue to post pictures of pieces that I have for sale, and possibly some that I have sold, so please check back often. Thanks for looking.